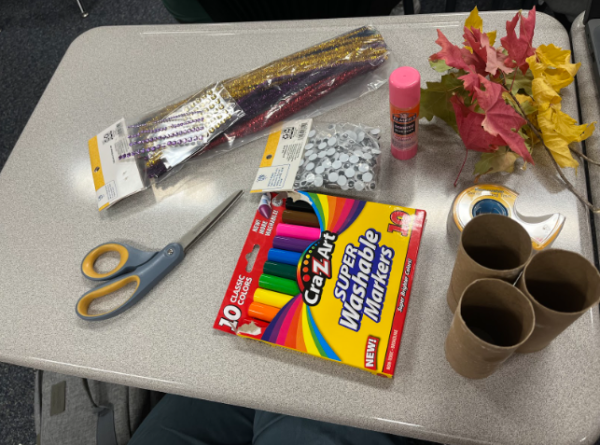
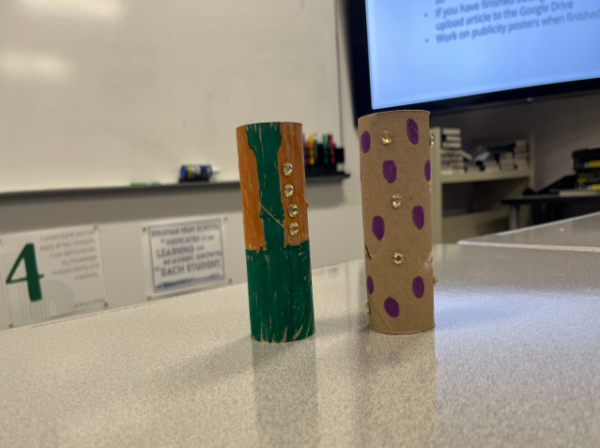
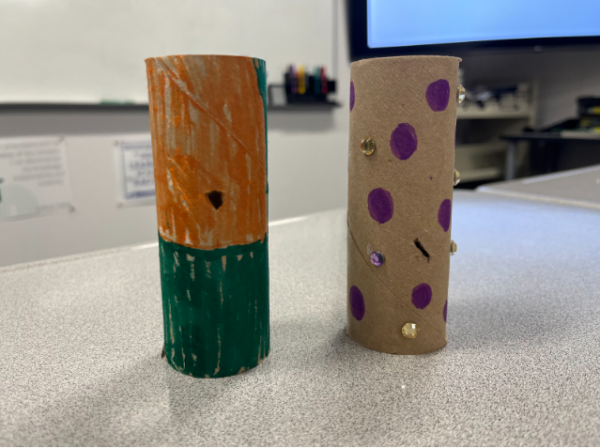
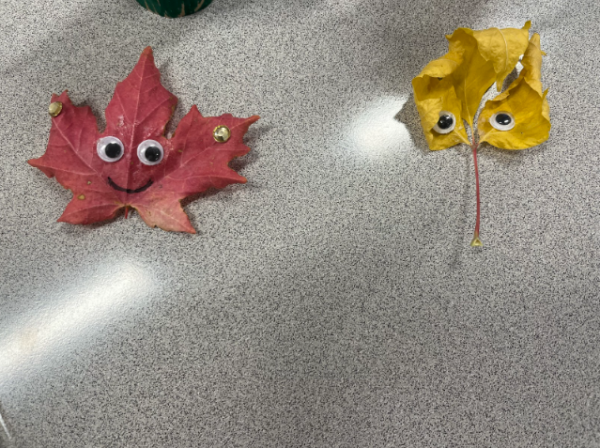
It’s Fall, y’all, which means it is time for sweaters, leaves, pumpkin spice and everything nice. It’s the perfect time for crafts to use as decorations or just for fun. And here at the Bingham Prospector, we have two fun crafts to kickstart your Fall season! If you make one of these crafts, bring it to Ms. Davidson’s room (E206) for your craft to be featured on The Prospector Instagram. Let’s get crafting!
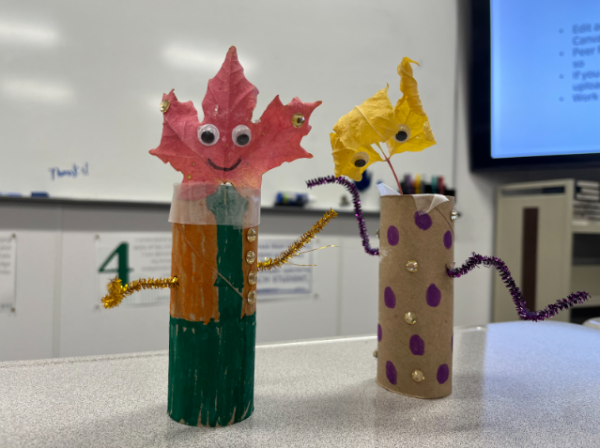
Craft #1: Leaf Friends
To make a leaf friend, you will need:
- A paper towel/toilet paper roll
- Colored markers or paint
- Glue or tape
- One leaf
- Googly eyes
- A sharpie or marker
- Pipe cleaners
- Scissors
- Pom poms or jewels (optional)
Step 1: Color or paint the paper towel roll, then let it sit to dry.
Step 2: Tape or glue any decorations you have onto the paper towel roll.
Step 3: Poke a hole on each side of the paper towel roll and thread the pipe cleaner through the holes so it sticks out on each side. Trim the ends of the pipe cleaner if necessary.
Step 4: Glue googly eyes to the top of the leaf. (Glue dots may make this easier)
Step 5: Use Sharpie or marker to draw a mouth on you leaf.
Step 6: Tape the stem of the leaf onto the top of the paper towel roll.
Step 7: Enjoy your new leaf friend!
Leaf friends can have many creative uses. They can be used as scarecrows, trick or treat favors, pencil holders, electronic cord holders, or even a fall version of “Elf on the Shelf”. Grace, our Editor in Chief and Arts and Entertainment editor said, “I will use my friend. Personally, I will use my leaf friend to watch over me and protect me in my house. My heart smiles everytime I look at him.”
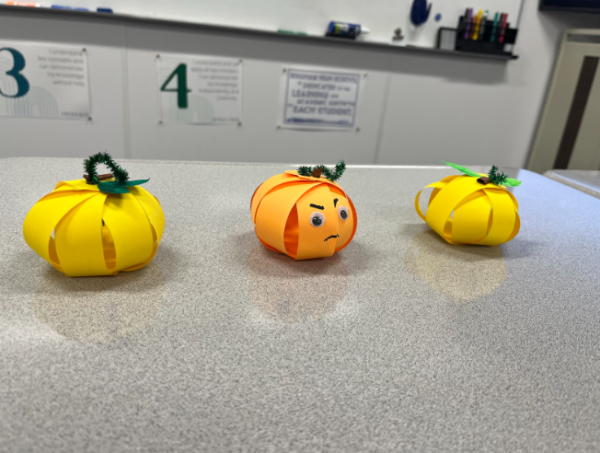
Craft #2: Paper Pumpkins
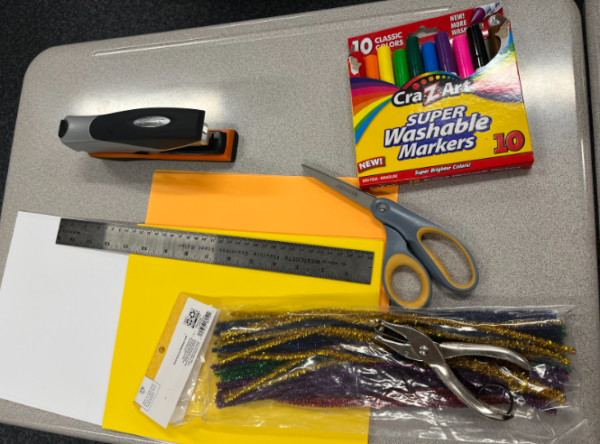
To make a paper pumpkin, you will need:
- Colorful paper
- Green paper
- Scissors
- Hole puncher
- Glue stick
- Scrap of brown paper (optional)
- A Sharpie (optional)
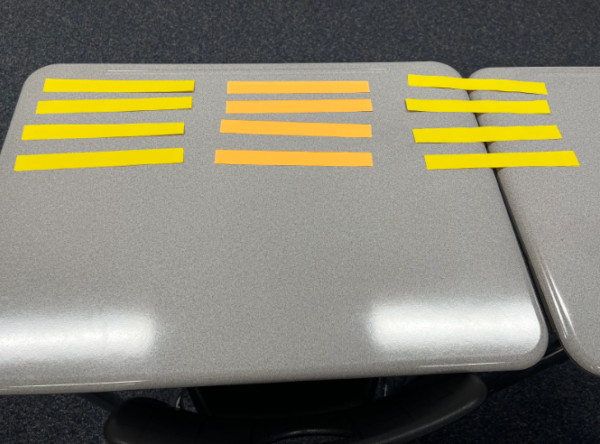
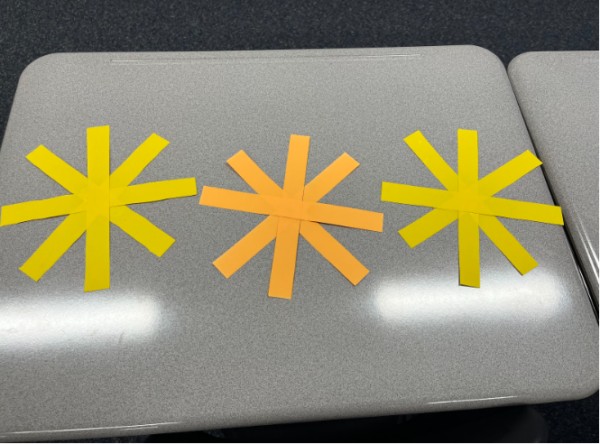
Step 1: Cut the colorful paper into 4 strips that are 1 inch wide and 8.5 inches long.
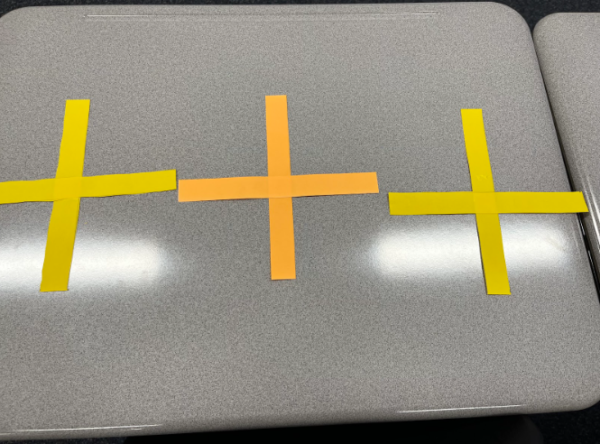
Step 2: Glue two strips together in the middle to make a plus sign.
Step 3: Glue on the other two strips at a diagonal.
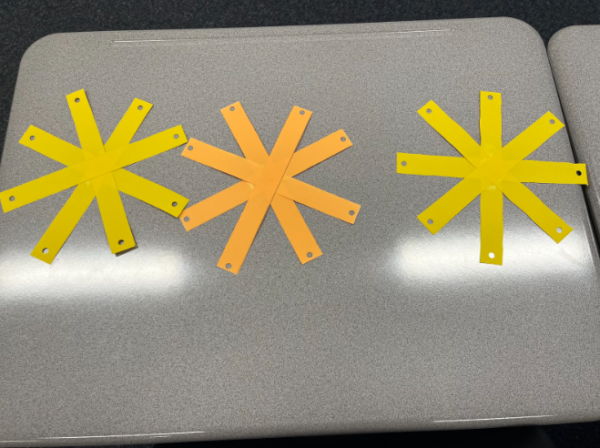
Step 4: Use the hole puncher to punch a hole at the end of each paper strip.
Step 5: Fold the pipe cleaner in half and twist to make a loop.
Step 6: Thread the pipe cleaner through the holes on the end of each strip. Repeat until every paper strip is stacked on top of each other through the pipe cleaner.
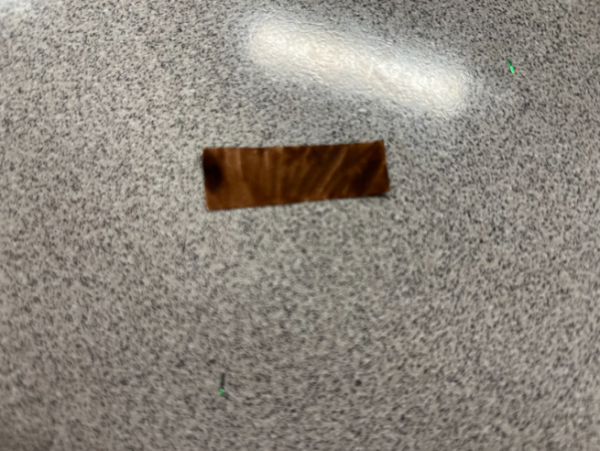
Step 7: Twist your brown paper scrap to make a stem. Glue it to the pipe cleaner or to the pumpkin.
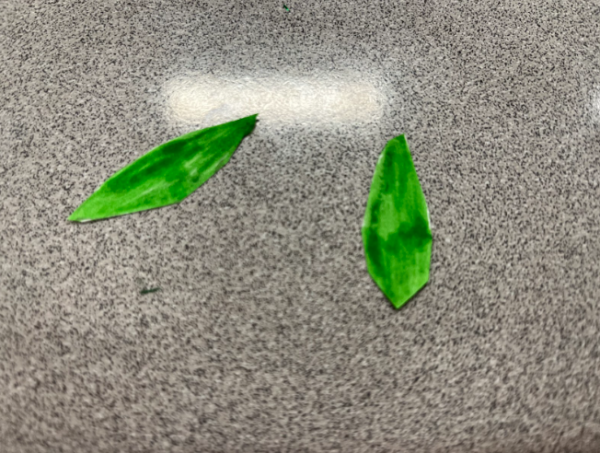
Step 8: Cut the green paper into leaf shapes and draw veins with the Sharpie.
Step 9: Glue the leaves to the stem of the pumpkin.
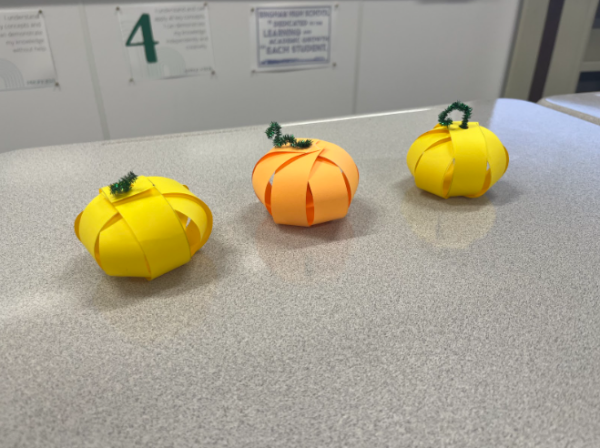
These paper pumpkins can be used as delightful fall decor to brighten up a bland space and prepare for Fall. Cami, our Social Media and Publicity editor said that her pumpkin is “her new best friend.”
Remember to bring your crafts to room E206 to be featured on The Prospector Instagram, and have a wonderful Fall!
Credits: The Leaf Friend: theinspirationedit.com
The Paper Pumpkin: itsalwaysautumn.com

